Are you facing a problem with the Mozilla Firefox internet browser that constantly redirects to a dubious web site asked you Allow notifications? Then, there are chances that are your machine is affected by potentially unwanted application (PUA) from the ‘ad-supported’ software (also known as adware) category. It is created for the purpose of showing a ton of advertisements, notifications, deals and offers without the user’s consent or permission. If you want to remove undesired pop-ups, ads and notifications, you will not succeed, because the “Allow notifications” adware is very stubborn. But with the help of the following tutorial, you surely can remove “Allow notifications” pop-ups completely from the Mozilla Firefox and other web-browsers.
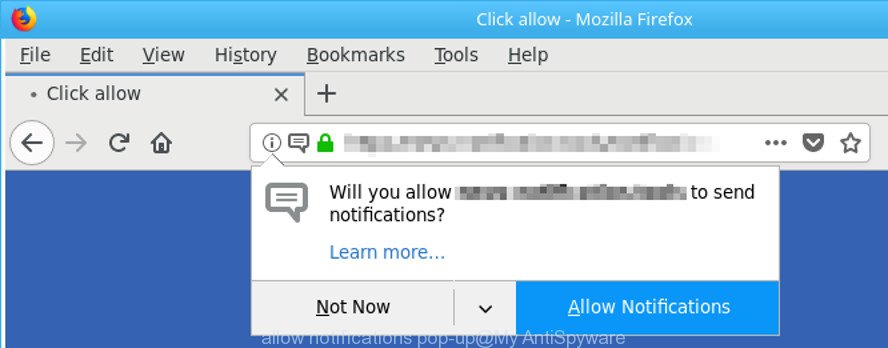
annoying “allow notifications” pop-up
The adware responsible for redirecting your web browser to “Allow notifications” webpage, can attack your computer’s browsers like the Firefox. Maybe you approve the idea that the pop-ups from it is just a small problem. But these annoying “Allow notifications” pop-ups eat system resources. Even worse, it can be used to gather your surfing history and personal info, including passwords and credit card numbers. In the future, your privacy information can be sold to third party companies.
We advise to delete the ad-supported software related to “Allow notifications” pop up, as soon as you found this problem, as it can reroute your internet browser to web-resources that may load other harmful software on your personal computer.
Remove “Allow notifications” popups
When the adware gets installed on your personal computer without your knowledge, it is not easy to uninstall. Most commonly, there is no Uninstall application that simply delete the ad supported software that causes browsers to show unwanted “Allow notifications” popups from your PC. So, we advise using several well-proven free specialized tools like Zemana Anti-Malware, MalwareBytes AntiMalware or HitmanPro. But the best method to remove “Allow notifications” pop ups will be to perform several manual steps, after that additionally use antimalware utilities.
To remove “Allow notifications” pop-ups, execute the following steps:
- How to manually remove “Allow notifications”
- Get rid of “Allow notifications” popup with free programs
- Stop “Allow notifications” pop ups and other intrusive sites
- How to prevent “Allow notifications” popup from getting inside your PC system
- Finish words
How to manually remove “Allow notifications”
To get rid of “Allow notifications” pop ups, adware and other unwanted applications you can try to do so manually. Unfortunately some of the adware won’t show up in your application list, but some adware may. In this case, you may be able to remove it through the uninstall function of your Microsoft Windows computer. You can do this by following the steps below.
Remove “Allow notifications” associated software by using Microsoft Windows Control Panel
Some applications are free only because their installation package contains an adware. This unwanted programs generates profit for the creators when it is installed. More often this ad-supported software can be removed by simply uninstalling it from the ‘Uninstall a Program’ that is located in Windows control panel.
Press Windows button ![]() , then click Search
, then click Search ![]() . Type “Control panel”and press Enter. If you using Windows XP or Windows 7, then press “Start” and select “Control Panel”. It will display the Windows Control Panel as shown in the following example.
. Type “Control panel”and press Enter. If you using Windows XP or Windows 7, then press “Start” and select “Control Panel”. It will display the Windows Control Panel as shown in the following example.
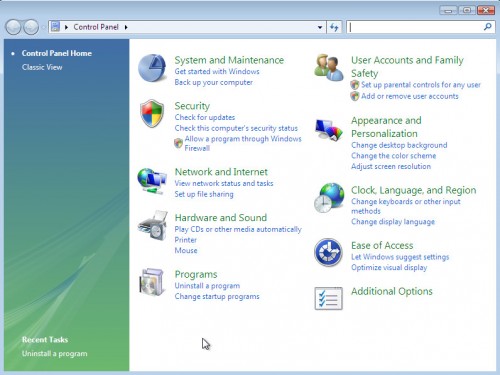
Further, press “Uninstall a program” ![]()
It will display a list of all programs installed on your PC. Scroll through the all list, and delete any questionable and unknown software.
Remove “Allow notifications” pop-ups from Mozilla Firefox
Resetting your Firefox is good initial troubleshooting step for any issues with your browser program, including the redirect to “Allow notifications” webpage. It’ll save your personal information such as saved passwords, bookmarks, auto-fill data and open tabs.
First, run the Mozilla Firefox. Next, click the button in the form of three horizontal stripes (![]() ). It will show the drop-down menu. Next, click the Help button (
). It will show the drop-down menu. Next, click the Help button (![]() ).
).

In the Help menu click the “Troubleshooting Information”. In the upper-right corner of the “Troubleshooting Information” page click on “Refresh Firefox” button as displayed on the screen below.

Confirm your action, press the “Refresh Firefox”.
Get rid of “Allow notifications” popup with free programs
In order to completely remove “Allow notifications”, you not only need to delete adware from your computer, but also delete all its components in your PC system including Windows registry entries. We recommend to download and run free removal utilities to automatically free your personal computer of adware that causes multiple unwanted pop-ups.
How to automatically remove “Allow notifications” pop-up with Zemana Anti-malware
You can delete “Allow notifications” popup automatically with a help of Zemana Anti-malware. We recommend this malicious software removal utility because it can easily get rid of browser hijackers, PUPs, adware which redirects your internet browser to “Allow notifications” web-site with all their components such as folders, files and registry entries.
Now you can install and use Zemana Anti Malware (ZAM) to remove “Allow notifications” pop up from your web-browser by following the steps below:
Visit the following page to download Zemana Anti-Malware installer named Zemana.AntiMalware.Setup on your PC. Save it on your Microsoft Windows desktop.
164810 downloads
Author: Zemana Ltd
Category: Security tools
Update: July 16, 2019
Run the setup file after it has been downloaded successfully and then follow the prompts to set up this tool on your PC system.
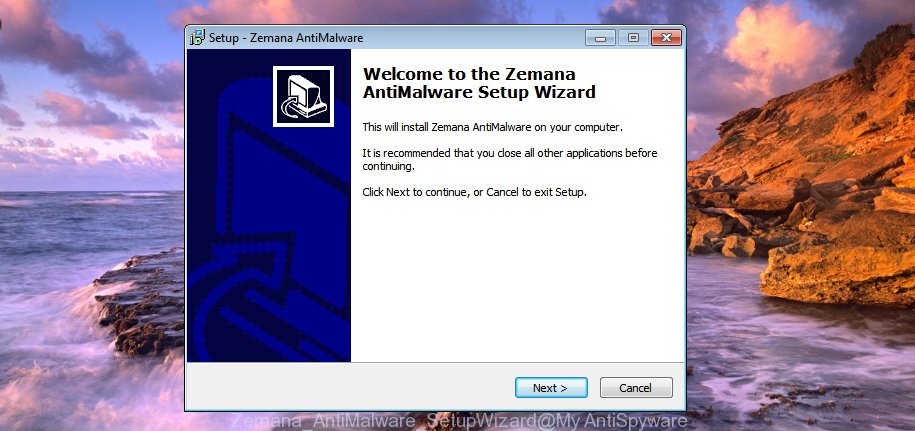
During installation you can change some settings, but we suggest you do not make any changes to default settings.
When setup is complete, this malware removal tool will automatically run and update itself. You will see its main window as displayed on the image below.
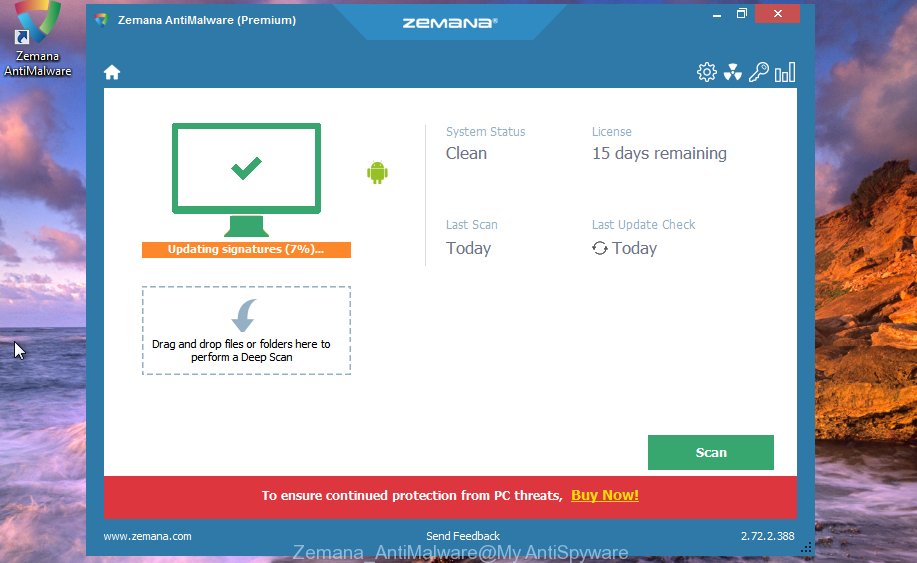
Now click the “Scan” button to perform a system scan for the adware that made to redirect your web browser to various ad websites like “Allow notifications”. This procedure may take quite a while, so please be patient. While the Zemana utility is checking, you may see number of objects it has identified as being infected by malware.

When Zemana has finished scanning, you may check all threats detected on your personal computer. Review the scan results and then click “Next” button.
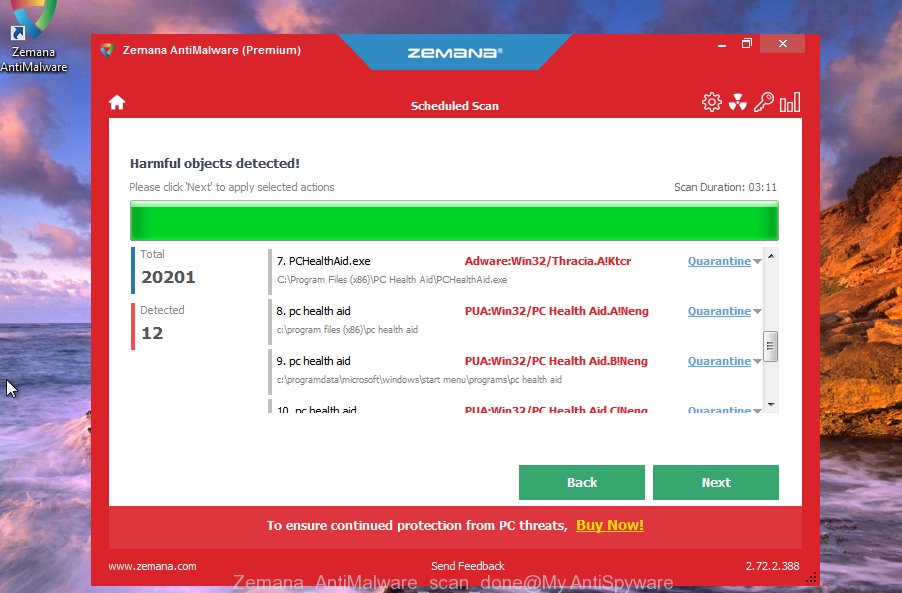
The Zemana Anti-Malware (ZAM) will remove adware that redirects your browser to undesired “Allow notifications” webpage and move threats to the program’s quarantine. Once disinfection is finished, you can be prompted to restart your machine to make the change take effect.
Run HitmanPro to remove “Allow notifications” pop-up from internet browser
HitmanPro frees your system from browser hijacker infections, potentially unwanted apps, unwanted toolbars, browser extensions and other undesired apps like adware that created to reroute your browser to various ad websites like “Allow notifications”. The free removal tool will help you enjoy your machine to its fullest. Hitman Pro uses advanced behavioral detection technologies to find out if there are unwanted applications in your computer. You can review the scan results, and choose the items you want to erase.
- Installing the Hitman Pro is simple. First you’ll need to download HitmanPro from the link below. Save it on your Microsoft Windows desktop.
- After the downloading process is finished, launch the Hitman Pro, double-click the HitmanPro.exe file.
- If the “User Account Control” prompts, press Yes to continue.
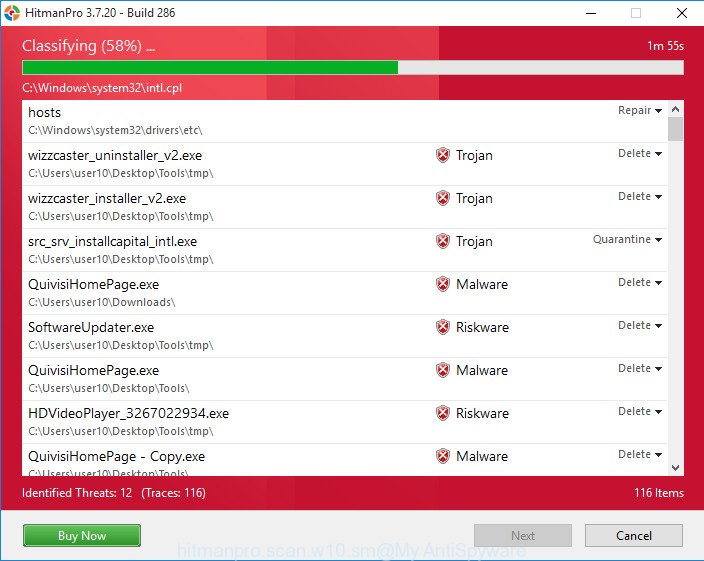
- In the HitmanPro window, click the “Next” to perform a system scan for the adware that causes multiple undesired pop ups. This process can take some time, so please be patient. When a threat is detected, the number of the security threats will change accordingly. Wait until the the checking is finished.
- Once the scan is finished, Hitman Pro will show a list of found items. Once you’ve selected what you want to get rid of from your computer press “Next”. Now, press the “Activate free license” button to begin the free 30 days trial to remove all malicious software found.
Automatically remove “Allow notifications” pop-up with Malwarebytes
You can get rid of “Allow notifications” pop-ups automatically with a help of Malwarebytes Free. We suggest this free malware removal utility because it can easily delete hijacker infections, adware, potentially unwanted software and toolbars with all their components such as files, folders and registry entries.
Visit the page linked below to download the latest version of MalwareBytes AntiMalware (MBAM) for Windows. Save it directly to your Windows Desktop.
327067 downloads
Author: Malwarebytes
Category: Security tools
Update: April 15, 2020
Once the downloading process is finished, close all apps and windows on your computer. Open a directory in which you saved it. Double-click on the icon that’s called mb3-setup as on the image below.
![]()
When the install starts, you’ll see the “Setup wizard” which will help you install Malwarebytes on your personal computer.
Once installation is finished, you’ll see window like below.
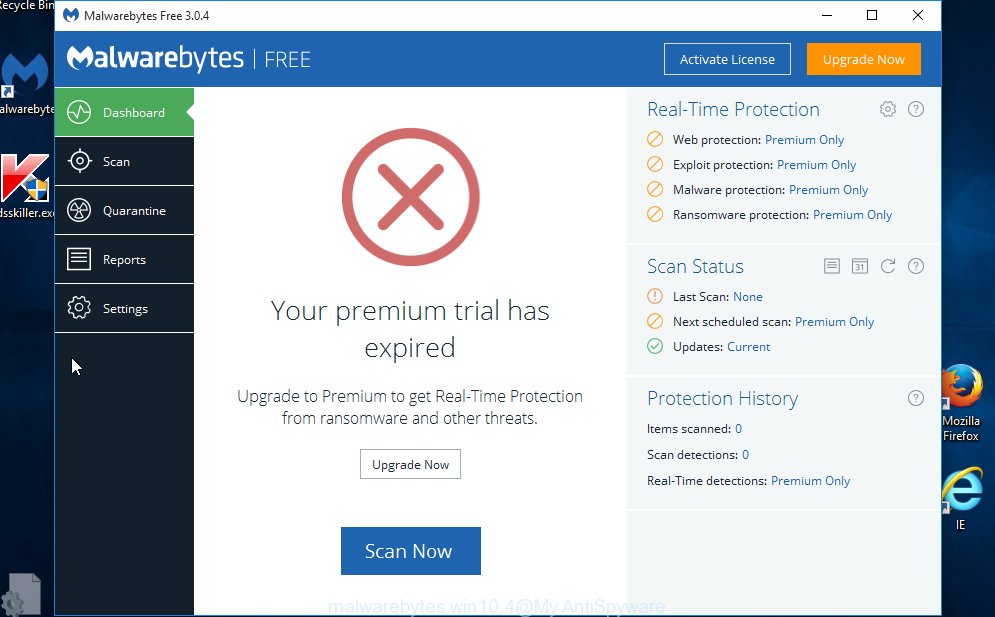
Now press the “Scan Now” button . MalwareBytes Free program will scan through the whole computer for the ad supported software that responsible for internet browser redirect to the undesired “Allow notifications” web-page. A scan can take anywhere from 10 to 30 minutes, depending on the count of files on your system and the speed of your PC system. During the scan MalwareBytes Anti-Malware (MBAM) will find out threats present on your system.
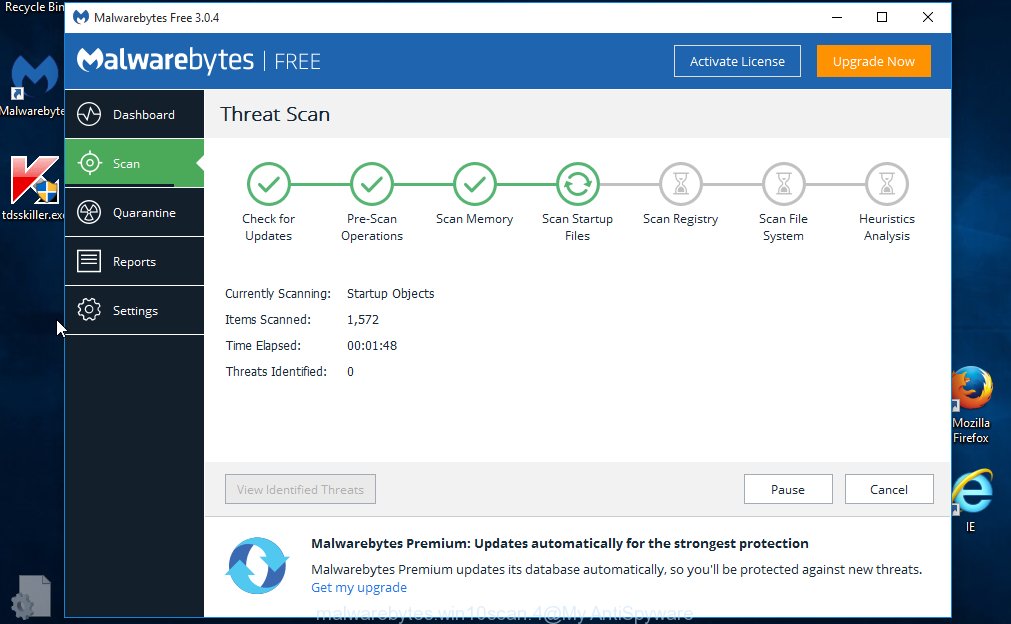
After finished, a list of all threats detected is prepared. When you are ready, press “Quarantine Selected” button.
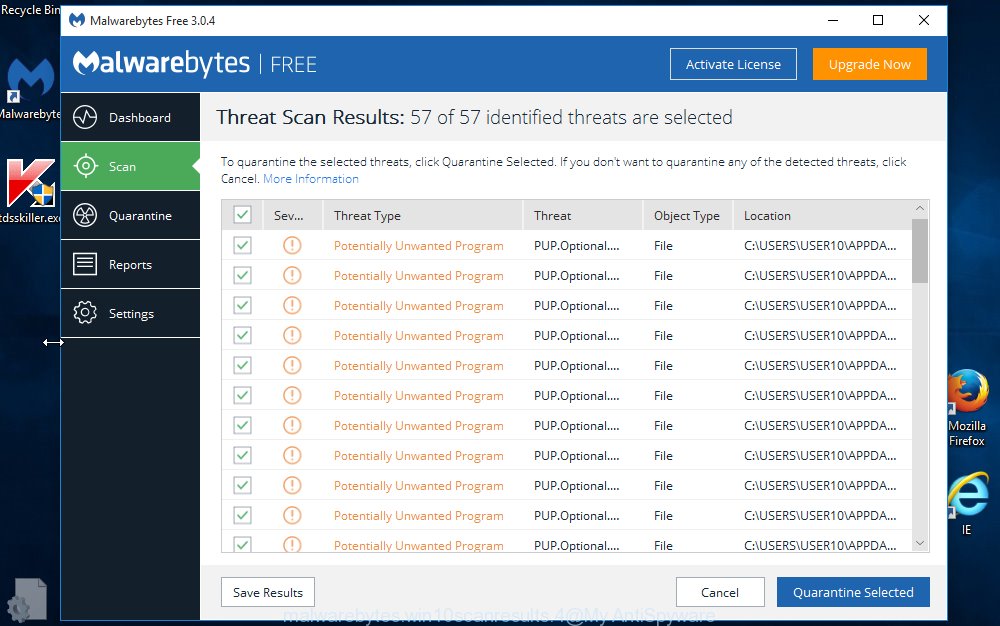
The Malwarebytes will now get rid of ad supported software that responsible for internet browser reroute to the unwanted “Allow notifications” web page. When finished, you may be prompted to reboot your machine.

The following video explains steps on how to remove hijacker, adware and other malware with MalwareBytes Anti Malware (MBAM).
Stop “Allow notifications” pop ups and other intrusive sites
In order to increase your security and protect your computer against new annoying ads and malicious web-sites, you need to run ad blocker application that blocks an access to harmful advertisements and sites. Moreover, the application may stop the open of intrusive advertising, which also leads to faster loading of web pages and reduce the consumption of web traffic.
Installing the AdGuard is simple. First you’ll need to download AdGuard from the following link. Save it on your Windows desktop.
26841 downloads
Version: 6.4
Author: © Adguard
Category: Security tools
Update: November 15, 2018
After downloading it, start the downloaded file. You will see the “Setup Wizard” screen as shown on the screen below.
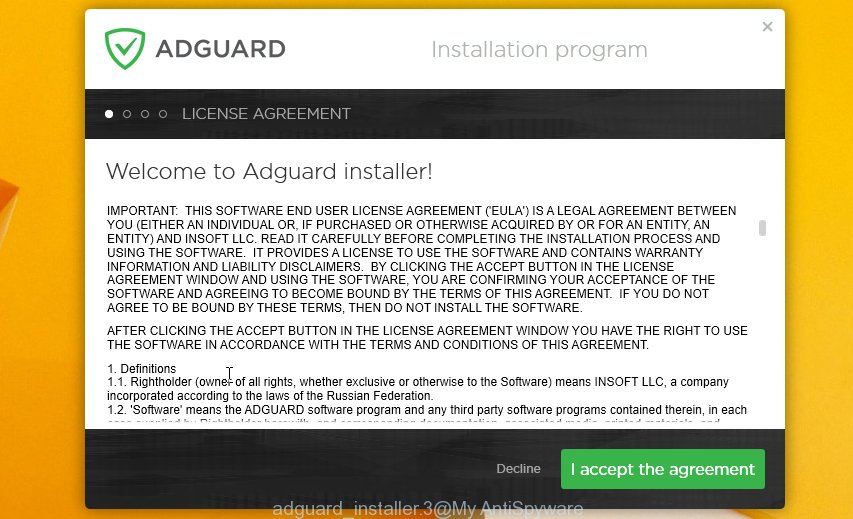
Follow the prompts. Once the installation is complete, you will see a window as on the image below.

You can click “Skip” to close the install program and use the default settings, or press “Get Started” button to see an quick tutorial which will allow you get to know AdGuard better.
In most cases, the default settings are enough and you don’t need to change anything. Each time, when you start your machine, AdGuard will start automatically and block unwanted ads, annoying “Allow notifications” pop-ups, as well as other malicious or misleading webpages. For an overview of all the features of the program, or to change its settings you can simply double-click on the AdGuard icon, which may be found on your desktop.
How to prevent “Allow notifications” popup from getting inside your PC system
It is very important to pay attention to additional checkboxes during the installation of free applications to avoid installing of PUPs, adware, browser hijackers or other unwanted programs. Never install the optional applications that the program wants to install with it. Inattentive free software download can result in installation of unwanted program like this adware that causes web browsers to display undesired “Allow notifications” popups.
Finish words
Now your personal computer should be clean of the adware that causes web-browsers to open annoying “Allow notifications” pop up. We suggest that you keep Zemana Free (to periodically scan your computer for new ad supported softwares and other malware) and AdGuard (to help you stop intrusive popup and harmful web-pages). Moreover, to prevent any adware, please stay clear of unknown and third party programs, make sure that your antivirus program, turn on the option to find out PUPs.
If you need more help with “Allow notifications” pop up related issues, go to our Spyware/Malware removal forum.


Funny you should mention free Malwarebytes as one solution.
MALWAREBYTES IS THE PROBLEM!!! Constant popups in the lower left of the screen that will not go away until you take the time to click — and then you get to do it all over again all day. 🙁 I used Malwarebytes for years, but the constant popups that come with its latest trial versions that it entices you to try are as bad as any virus.
You should be warning people away from Malwarebytes, not recommending it!!!
PS All the old remedies floating around the net DON’T WORK. You can’t change the settings in Malwarebytes to stop the popups; and the Malwarebytes Application Tray doesn’t even appear in the Task Manager. So that lets out disabling it. 🙁