According to cyber threat analysts, Searches.cloud is a browser hijacker that affects your MAC and modifies web-browser settings. It can take over your web browser and force you to use Searches.cloud as your newtab page, homepage and search provider by default. When the browser hijacker in your MAC OS, it can collect confidential info like search queries as well as browsing history. So, if you have found this web-page set as your new homepage, you should get rid of it as quickly as possible and choose a well-known search provider such as Google or Bing. Try the steps below to know how to remove Searches.cloud and other unwanted software.
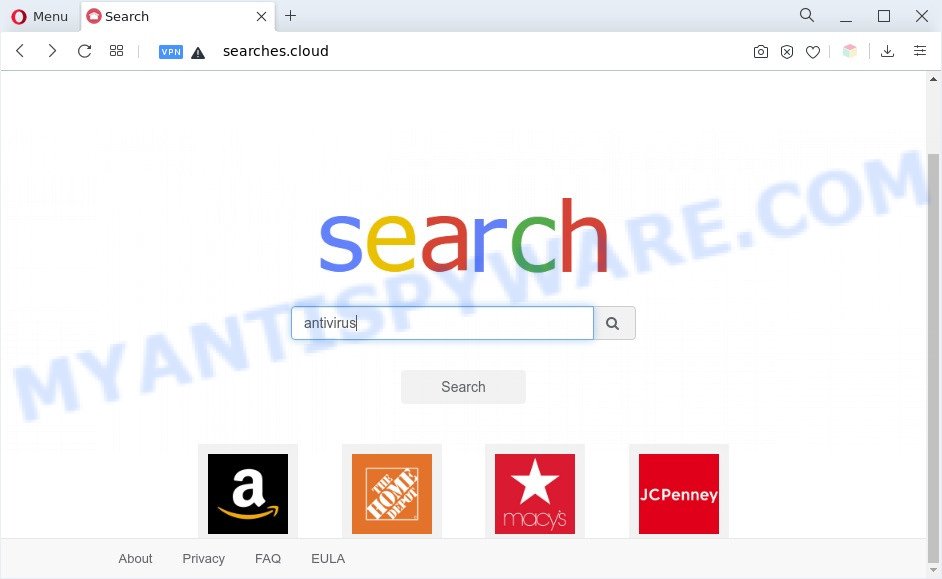
Searches.cloud is a browser hijacker
When you are performing searches using the web-browser that has been affected by Searches.cloud, the search results will be returned from webcrawler.com. The devs behind Searches.cloud hijacker are most probably doing this to generate advertisement money from the ads shown in the search results.
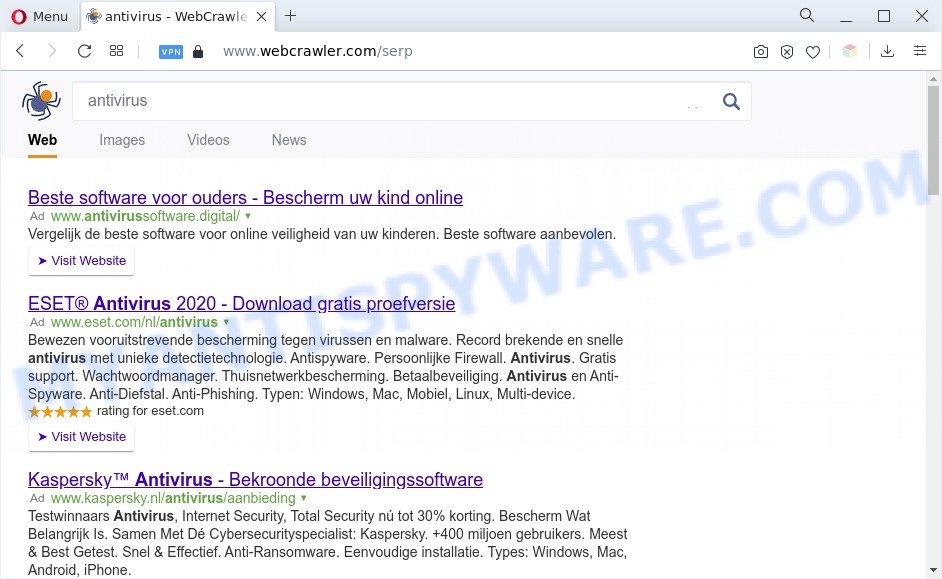
Unwanted searches.cloud ads
And finally, the Searches.cloud hijacker be able to collect your sensitive information like what web sites you’re opening, what you’re looking for the Internet and so on. This information, in the future, may be transferred to third parties.
Thus, the Searches.cloud does not really have beneficial features. So, we suggest you delete Searches.cloud from the Firefox, Chrome and Safari web-browsers as quickly as possible. This will also prevent the browser hijacker from tracking your online activities. A full browser hijacker removal can be easily carried out using manual or automatic solution listed below.
How can Searches.cloud get on your Mac
Browser hijackers, adware and PUPs come bundled with some free applications. So always read carefully the setup screens, disclaimers, ‘Terms of Use’ and ‘Software license’ appearing during the install process. Additionally pay attention for bundled software that are being installed along with the main application. Ensure that you unchecked all of them! Also, run an adblocker program that will help to stop malicious, misleading, illegitimate or untrustworthy web pages.
Threat Summary
| Name | Searches.cloud |
| Type | home page hijacker, browser hijacker, redirect virus, search provider hijacker, PUP |
| Affected Browser Settings | search provider, new tab page URL, home page |
| Symptoms |
|
| Removal | Searches.cloud removal guide |
How to remove Searches.cloud
To remove Searches.cloud from your web-browser, you must delete all suspicious software and every file that could be related to the browser hijacker. Besides, to restore your web browser search engine, home page and newtab page, you should reset the infected web-browsers. As soon as you’re done with Searches.cloud removal process, we recommend you scan your computer with malicious software removal tools listed below. It will complete the removal process on your machine.
To remove Searches.cloud, follow the steps below:
- Manual Searches.cloud removal
- Automatic Removal of Searches.cloud search
- How to stop Searches.cloud
- To sum up
Manual Searches.cloud removal
The useful removal tutorial for the Searches.cloud home page. The detailed procedure can be followed by anyone as it really does take you step-by-step. If you follow this process to delete Searches.cloud search let us know how you managed by sending us your comments please.
Uninstall potentially unwanted programs using the Finder
Check out the Finder (Applications section) to see all installed apps. If you see any unknown and suspicious programs, they are the ones you need to remove.
Open Finder and click “Applications”.
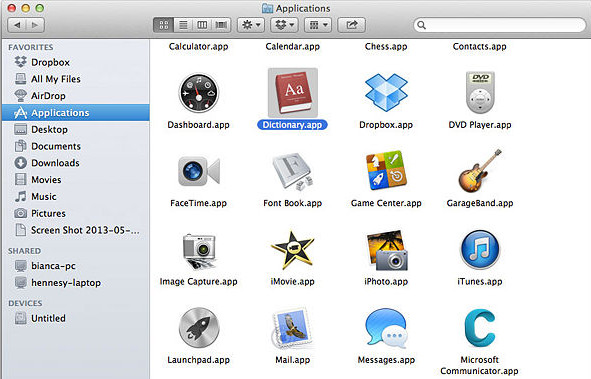
Carefully browse through the list of installed apps and get rid of all questionable and unknown programs.
After you’ve found anything suspicious that may be the hijacker responsible for redirects to Searches.cloud or other PUP (potentially unwanted program), then right click this application and choose “Move to Trash”. Once complete, Empty Trash.
Remove Searches.cloud from Chrome
If Google Chrome new tab, search engine and homepage were hijacked by Searches.cloud then ‘Reset Chrome’ is a way which helps to revert back the web browser to its factory state. To reset Chrome to the original defaults, follow the few simple steps below.
Open the Chrome menu by clicking on the button in the form of three horizontal dotes (![]() ). It will open the drop-down menu. Select More Tools, then click Extensions.
). It will open the drop-down menu. Select More Tools, then click Extensions.
Carefully browse through the list of installed add-ons. If the list has the extension labeled with “Installed by enterprise policy” or “Installed by your administrator”, then complete the following instructions: Remove Google Chrome extensions installed by enterprise policy otherwise, just go to the step below.
Open the Chrome main menu again, click to “Settings” option.
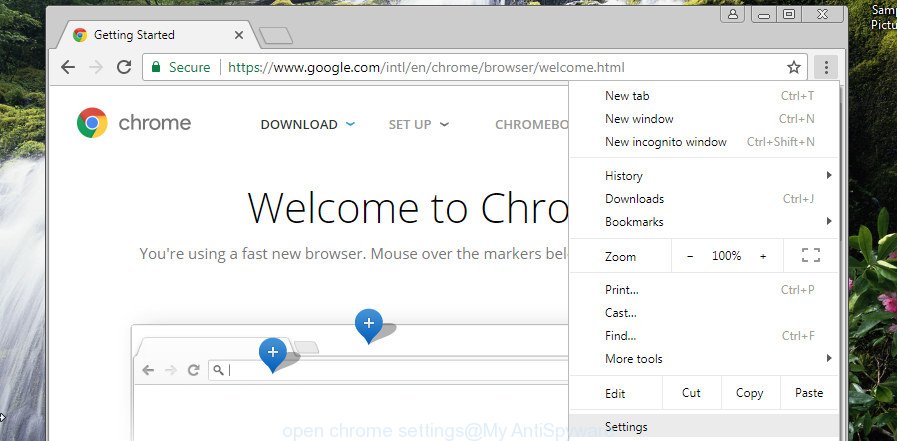
Scroll down to the bottom of the page and click on the “Advanced” link. Now scroll down until the Reset settings section is visible, as shown in the following example and press the “Reset settings to their original defaults” button.
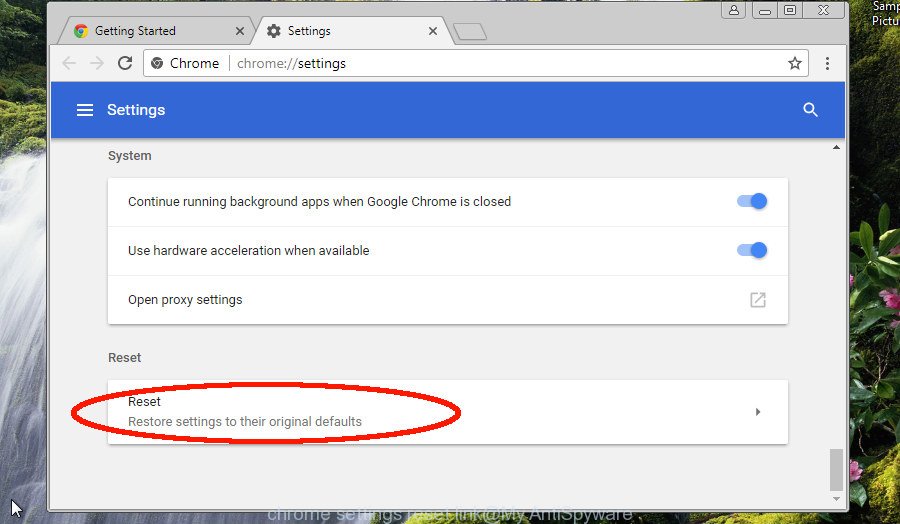
Confirm your action, click the “Reset” button.
Get rid of Searches.cloud from Firefox by resetting web browser settings
If the Mozilla Firefox browser startpage, default search engine and new tab are changed to Searches.cloud and you want to restore the settings back to their default state, then you should follow the step-by-step instructions below. However, your saved bookmarks and passwords will not be lost. This will not affect your history, passwords, bookmarks, and other saved data.
First, open the Firefox. Next, press the button in the form of three horizontal stripes (![]() ). It will display the drop-down menu. Next, click the Help button (
). It will display the drop-down menu. Next, click the Help button (![]() ).
).

In the Help menu click the “Troubleshooting Information”. In the upper-right corner of the “Troubleshooting Information” page click on “Refresh Firefox” button as on the image below.

Confirm your action, press the “Refresh Firefox”.
Remove Searches.cloud from Safari
If you find that Safari web-browser settings such as default search engine, startpage and newtab page having been hijacked, then you may restore your settings, via the reset web browser procedure.
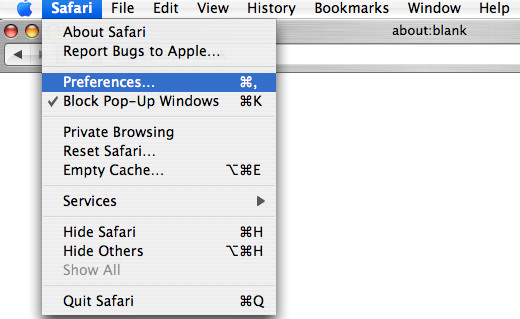
Run Safari web browser. Next, choose Preferences from the Safari menu.
First, click the “Security” tab. Here, choose “Block pop-up windows”. It will stop some types of popups.
Now, click the “Extensions” icon. Look for dubious extensions on left panel, select it, then click the “Uninstall” button. Most important to remove all questionable extensions from Safari.
Once complete, check your startpage and search engine settings. Click “General” icon. Make sure that the “Homepage” field contains the website you want or is empty.
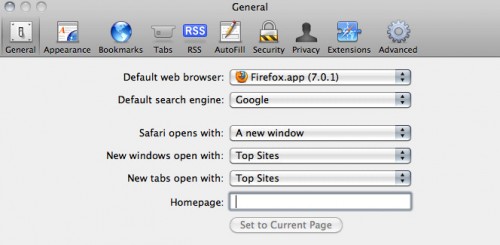
Make sure that the “Search engine” setting shows your preferred search provider. In some versions of Safari, this setting is in the “Search” tab.
Automatic Removal of Searches.cloud search
Manual removal guide does not always allow to completely get rid of the browser hijacker infection, as it is not easy to identify and remove components of browser hijacker infection and all malicious files from hard disk. Therefore, it is recommended that you use malicious software removal tool to completely remove Searches.cloud off your Apple Mac. Several free malicious software removal utilities are currently available that can be used against the browser hijacker. The optimum method would be to use MalwareBytes Anti-Malware.
Use MalwareBytes AntiMalware (MBAM) to get rid of browser hijacker
You can remove Searches.cloud search automatically with a help of MalwareBytes Anti Malware (MBAM). We advise this free malware removal tool because it can easily delete browser hijacker, adware, potentially unwanted programs and toolbars with all their components such as files, folders and registry entries.
Click the link below to download the latest version of MalwareBytes for Apple Mac.
20945 downloads
Author: Malwarebytes
Category: Security tools
Update: September 10, 2020
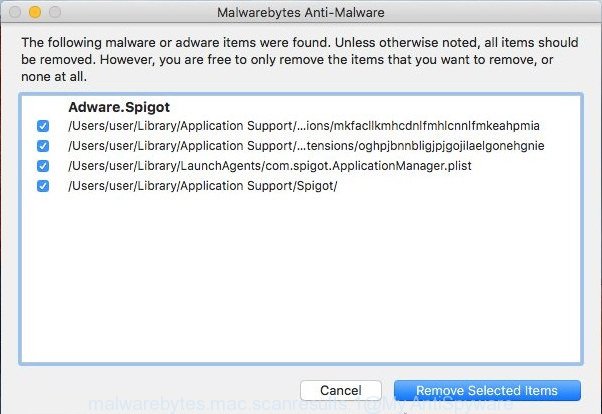
When the download is finished, run it and follow the prompts. Click the “Scan” button . MalwareBytes Free utility will begin scanning the whole machine to find out browser hijacker that responsible for browser reroute to the annoying Searches.cloud website. This procedure can take some time, so please be patient. When a threat is detected, the number of the security threats will change accordingly. Make sure all threats have ‘checkmark’ and press “Remove Selected Items” button.
The MalwareBytes AntiMalware (MBAM) is a free program that you can use to get rid of all detected folders, files, malicious services and so on.
How to stop Searches.cloud
In order to increase your security and protect your MAC OS against new undesired ads and harmful webpages, you need to run ad blocking program that blocks an access to harmful ads and web sites. Moreover, the program may block the show of intrusive advertising, which also leads to faster loading of web-pages and reduce the consumption of web traffic.
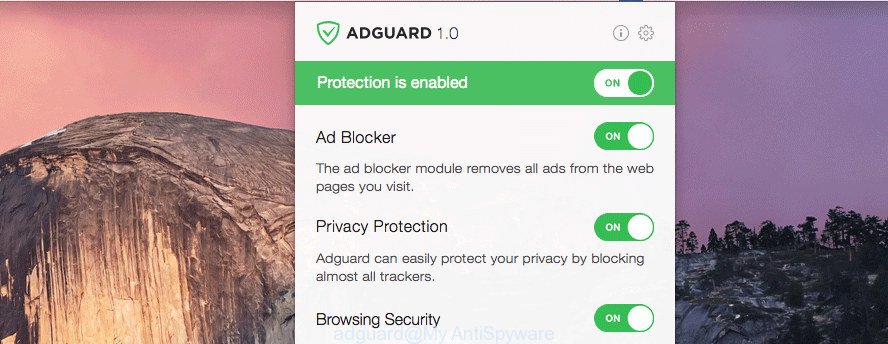
Visit the page linked below to download the latest version of AdGuard for Mac.
3753 downloads
Author: © Adguard
Category: Security tools
Update: January 17, 2018
When the downloading process is finished, run the downloaded file. The “Setup Wizard” window will show up on the computer screen.
Follow the prompts. AdGuard will then be installed. A window will show up asking you to confirm that you want to see a quick guide. Click “Skip” button to close the window and use the default settings, or press “Get Started” to see an quick tutorial that will assist you get to know AdGuard better.
Each time, when you launch your machine, AdGuard will launch automatically and stop unwanted pop-up advertisements, block Searches.cloud redirect, as well as other harmful or misleading web pages.
To sum up
Now your machine should be free of the browser hijacker responsible for redirecting user searches to Searches.cloud. We suggest that you keep AdGuard (to help you stop unwanted ads and undesired malicious web pages) and MalwareBytes (to periodically scan your machine for new hijacker infections and other malicious software).
If you are still having problems while trying to get rid of Searches.cloud startpage from the Mozilla Firefox, Google Chrome and Safari, then ask for help here here.

