What is UpdateAgent
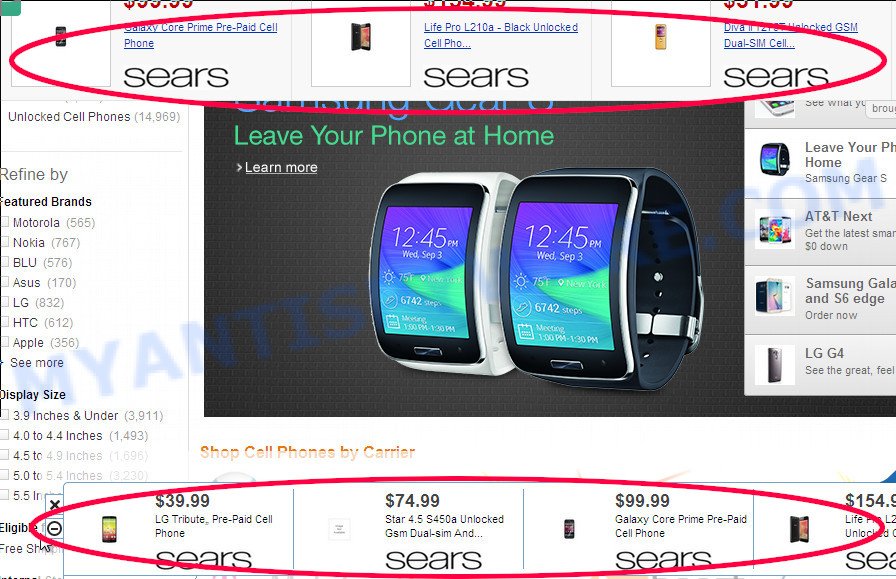
UpdateAgent is an adware application that targets Mac computers. Many users consider adware, browser hijackers, spyware, trojans as the same thing. They are all types of malware that each behave differently. The word ‘adware’ is a combination of two words ‘ad’ and ‘software’. Adware displays unwanted ads on an infected machine. Not very dangerous for users, but very profitable for the the adware developers.
Unwanted ads
UpdateAgent have various methods of earning by displaying the ads forcibly to its victims. It can open pop-up windows, show unsolicited advertisements, alter the victim’s web-browser settings, or redirect the victim’s web browser to unrequested webpages. Aside from causing unwanted ads and web browser redirects, it also can slow down the machine.
Another reason why you need to get rid of the UpdateAgent adware is its online data-tracking activity. Adware can be used to gather your user information such as what websites you are opening, what you are looking for the Internet and so on. This sensitive information, subsequently, may be sold to third parties.
So, if you happen to encounter the adware, then be quick and take effort to delete it as soon as possible. Follow the step-by-step tutorial below to delete UpdateAgent adware. Let us know how you managed by sending us your comments please.
How does UpdateAgent get on your machine
Adware usually come bundled with some free software that users download off of the Internet. So, think back, have you ever download and run any free apps. In order to avoid adware infection, in the Setup wizard, you should be be proactive and carefully read the ‘Terms of use’, the ‘license agreement’ and other install screens, as well as to always select the ‘Manual’ or ‘Advanced’ install option, when installing anything downloaded from the Internet.
Threat Summary
| Name | UpdateAgent, UpdateAgent 1.0 app |
| Type | adware, PUP (potentially unwanted program), Mac malware, Mac virus |
| Detection Names | ApplicUnwnt, OSX.Trojan.Gen, Adware.MAC.Generic, Adware/Adload!OSX, Trojan-Downloader.OSX.Adload, Osx.Adware.Cimpli, Program:MacOS/Vigram.A and MacOS.Agent-MT |
| Distribution | Free software installers, fake updaters, torrent downloads and misleading pop-up ads |
| Symptoms | When you go to a web-site, you’re periodically redirected to another web page that you do not intend to visit, advertising banners appear on web-pages that you are visiting, unexpected application installed without your say-so, unwanted web browser toolbars, unexpected changes in your web browser such as displaying new tabs you didn’t open, speed test good but internet slow. |
| Removal | UpdateAgent removal guide |
How to Remove UpdateAgent (removal tutorial)
In the steps below, we will try to cover Mozilla Firefox, Safari and Chrome and provide general advice to get rid of UpdateAgent adware. You may find some minor differences in your Mac OS install. No matter, you should be okay if you follow the steps outlined below: delete all suspicious and unknown applications, reset web browsers settings, run free malware removal utilities. Certain of the steps below will require you to exit this website. So, please read the step-by-step guide carefully, after that bookmark it or open it on your smartphone for later reference.
To remove UpdateAgent, perform the steps below:
- Remove profiles created by UpdateAgent
- Uninstall UpdateAgent related apps through the Finder
- Remove UpdateAgent related files and folders
- Scan your Mac with MalwareBytes
- Remove UpdateAgent from Safari, Chrome, Firefox
- How to stay safe online
Remove profiles created by UpdateAgent
UpdateAgent can make changes to the Mac system such as malicious changes to browser settings, and the addition of malicious system profiles. You need to check the system preferences, find and remove malicious profiles and ensure your settings are as you expect.
Click Apple menu ( ![]() ) > System Preferences.
) > System Preferences.
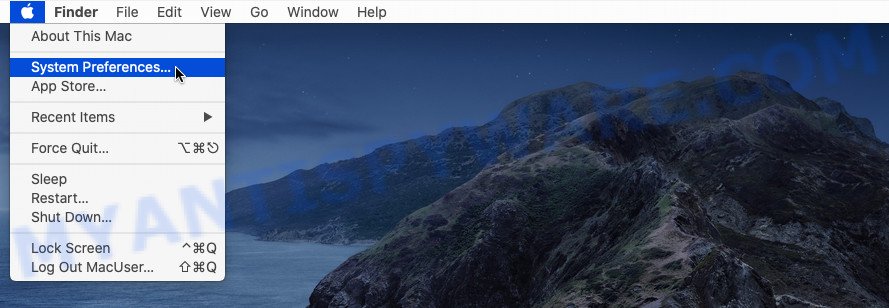
In System Preferences, select Profiles. if there is no Profiles in the list of preferences, that means there are no profiles installed on the Mac device. If there is Profiles in the list, then click on it, then select a profile associated with UpdateAgent.
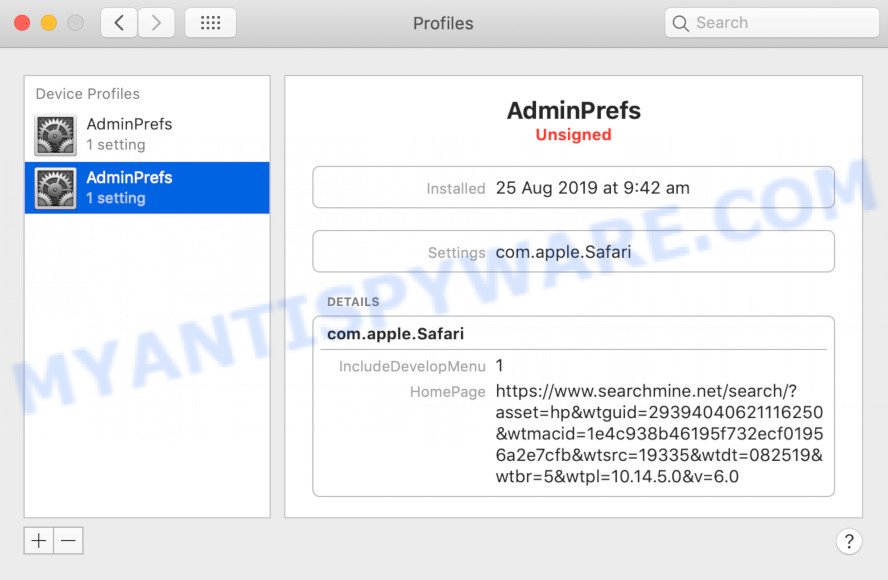
To delete a malicious profile, click on the minus button ( – ) located at the bottom-left of the Profiles screen.
Uninstall UpdateAgent related apps through the Finder
The next step in deleting PUPs, browser hijackers and adware by yourself is to go into the Finder, then Applications. Take a look at the list of programs on your Mac device and see if there are any questionable and unknown apps. If you see any, you need to remove it. Of course, before doing so, you can do an World Wide Web search to find details on the program. If it is a potentially unwanted program, adware and browser hijacker, you will likely find information that says so.
Make sure you have closed all browsers and other applications. Next, remove any unrequested and suspicious software from MAC system using the Finder.
Open Finder and click “Applications”.
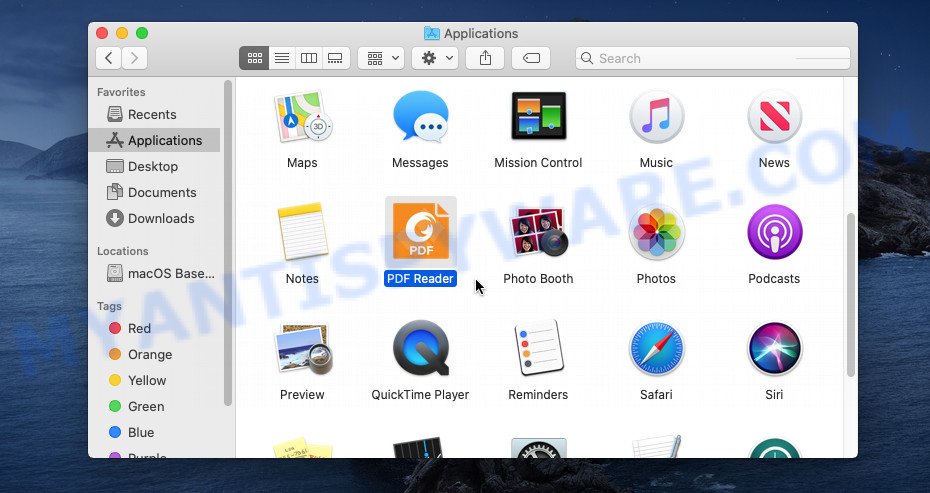
Look around the entire list of programs installed on your MAC OS. Most probably, one of them is the UpdateAgent adware. Choose the dubious application or the program that name is not familiar to you and delete it.
Drag the dubious program from the Applications folder to the Trash.
Most important, don’t forget, choose Finder -> Empty Trash.
Remove UpdateAgent related files and folders
Now you need to try to find UpdateAgent related files and folders, and then delete them manually. You need to look for these files in certain directories. To quickly open them, we recommend using the “Go to Folder…” command.
UpdateAgent creates several files, these files must be found and removed. Below is a list of files associated with this unwanted program.
- /Library/LaunchDaemons/com.UpdateAgent.system.plist
- ~/Library/LaunchAgents/com.UpdateAgent.service.plist
- /Library/Application Support/.(RANDOM)/System/com.UpdateAgent.system
- ~/Library/Application Support/.(RANDOM)/Services/com.UpdateAgent.service.app
Some files created by UpdateAgent are hidden from the user. To find and delete them, you need to enable “show hidden files”. To do this, use the shortcut CMD + SHIFT + . Press once to show hidden files and again to hide them. There is another way. Click Finder -> Applications -> Utilities -> Terminal. In Terminal, paste the following text: defaults write com.apple.finder AppleShowAllFiles YES

Press Enter. Hold the ‘Option/alt’ key, then right click on the Finder icon in the dock and click Relaunch.
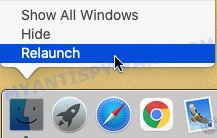
Click on the Finder icon. From the menu bar, select Go and click “Go to Folder…”. As a result, a small window opens that allows you to quickly open a specific directory.

Check for UpdateAgent generated files in the /Library/LaunchAgents folder

In the “Go to Folder…” window, type the following text and press Go:
/Library/LaunchAgents
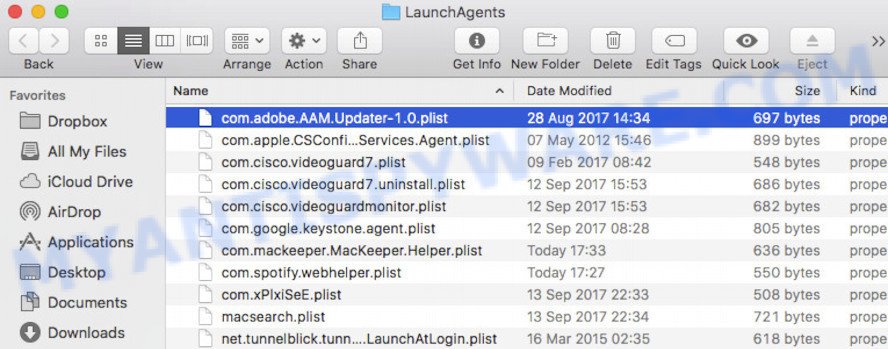
This will open the contents of the “/Library/LaunchAgents” folder. Look carefully at it and pay special attention to recently created files, as well as files that have a suspicious name. Move all suspicious files to the Trash. A few examples of files: installapp.plist, com.machelper.plist, com.google.defaultsearch.plist, , search.plist, com.UpdateAgent.service.plist, macsearch.plist and com.net-preferences.plist. Most often, PUPs, browser hijackers and adware create several files with similar names.
Check for UpdateAgent generated files in the /Library/Application Support folder

In the “Go to Folder…” window, type the following text and press Go:
/Library/Application Support
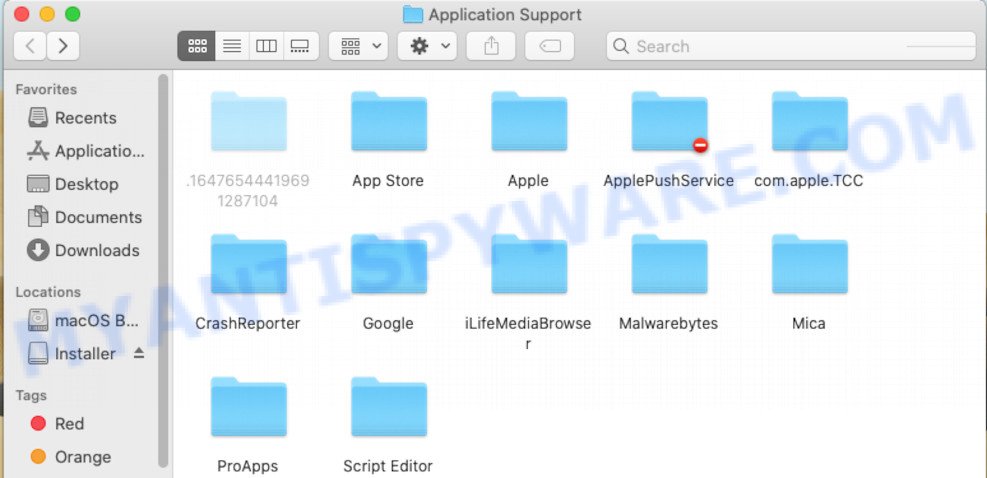
This will open the contents of the “Application Support” folder. Look carefully at its contents, pay special attention to recently added/changed folders and files. Check the contents of suspicious folders, if there is a file with a name similar to com.UpdateAgent.system, then this folder must be deleted. Move all suspicious folders and files to the Trash.
Check for UpdateAgent generated files in the “~/Library/LaunchAgents” folder

In the “Go to Folder…” window, type the following text and press Go:
~/Library/LaunchAgents

Proceed in the same way as with the “/Library/LaunchAgents” and “/Library/Application Support” folders. Look for suspicious and recently added files. Move all suspicious files to the Trash.
Check for UpdateAgent generated files in the /Library/LaunchDaemons folder
In the “Go to Folder…” window, type the following text and press Go:
/Library/LaunchDaemons

Carefully browse the entire list of files and pay special attention to recently created files, as well as files that have a suspicious name. Move all suspicious files to the Trash. A few examples of files to be deleted: com.installapp.system.plist, com.macsearch.system.plist, com.UpdateAgent.system.plist, com.machelper.system.plist and com.search.system.plist. In most cases, PUPs, adware and browser hijackers create several files with similar names.
Scan your Mac with MalwareBytes
Manual UpdateAgent removal requires some computer skills. Some files and system entries that created by the adware software can be not completely removed. We recommend that run MalwareBytes to scan the Mac. Moreover, this program will help you to remove toolbars, browser hijackers, adware and PUPs that your MAC OS can be affected too.
Please go to the link below to download the latest version of MalwareBytes Anti Malware (MBAM) for Apple Mac.
20941 downloads
Author: Malwarebytes
Category: Security tools
Update: September 10, 2020
After the download is finished, close all windows on your computer. Further, start the saved file. Follow the prompts.
The MalwareBytes Free will automatically launch and you can see its main window as shown on the screen below.
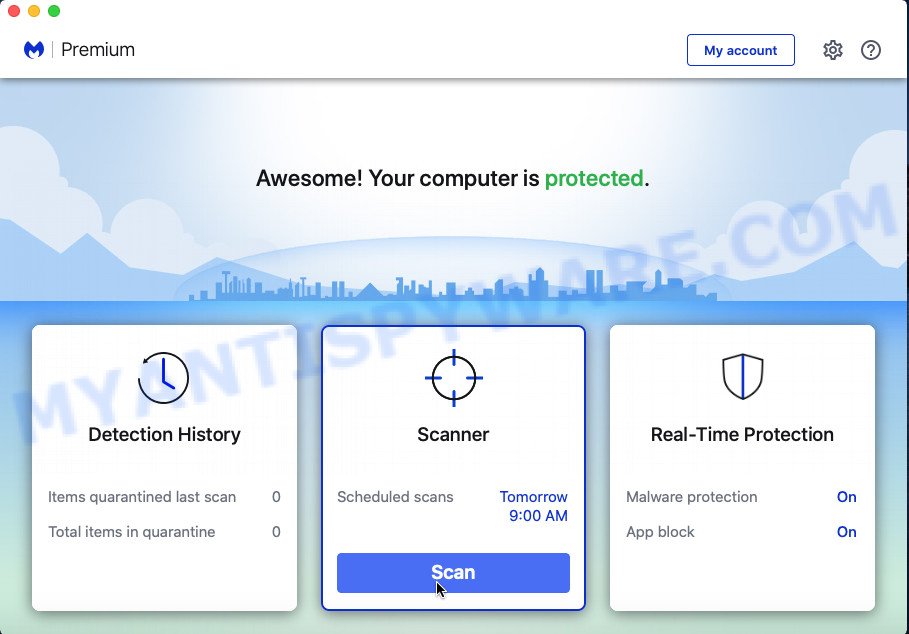
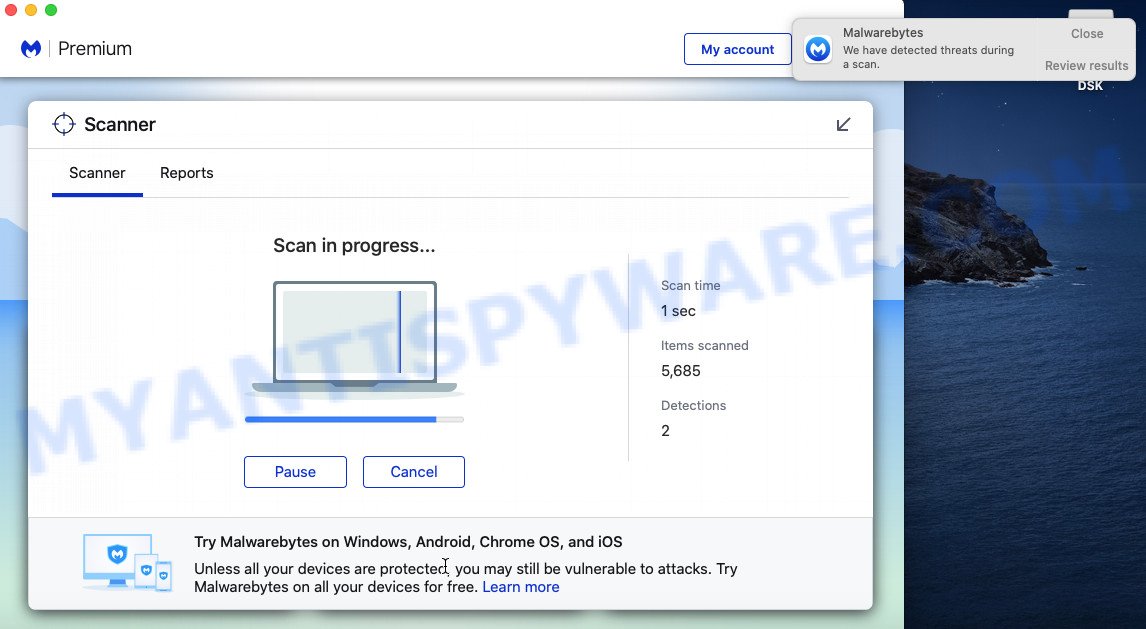
Next, click the “Scan Now” button for checking your MAC system for the UpdateAgent adware. This task can take quite a while, so please be patient. When a threat is found, the number of the security threats will change accordingly. Wait until the the scanning is complete.
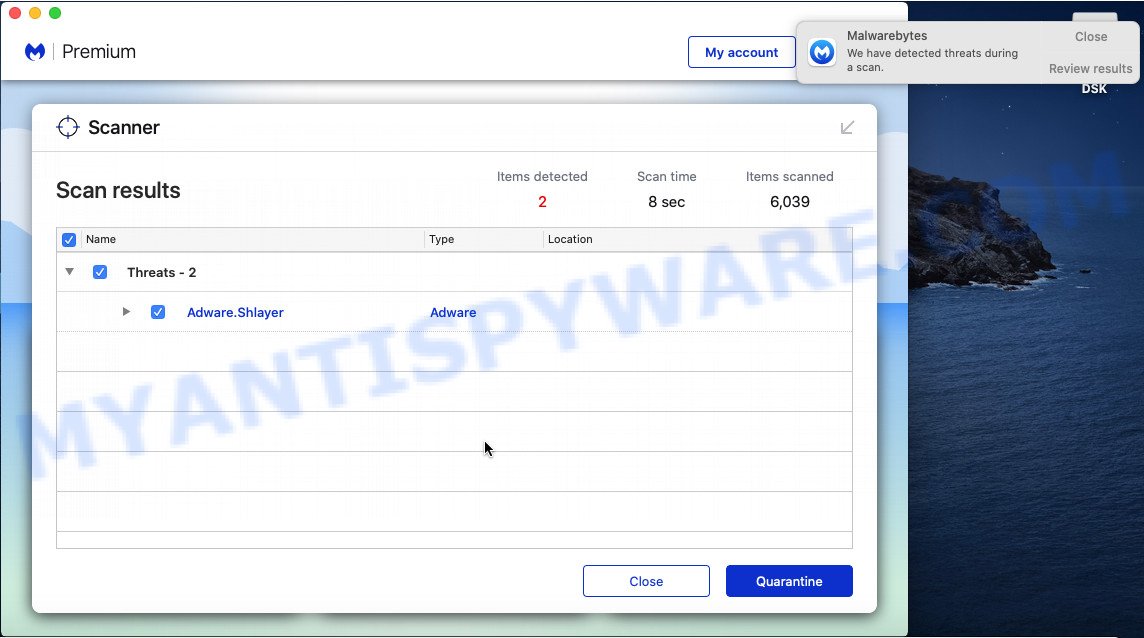
Once MalwareBytes AntiMalware (MBAM) has completed scanning your Apple Mac, MalwareBytes will open a list of detected items. You may remove items (move to Quarantine) by simply click the “Quarantine” button.
The MalwareBytes Anti-Malware (MBAM) will start to delete UpdateAgent adware.
Remove UpdateAgent from Safari, Chrome, Firefox
Remove unwanted extensions is a simple method to get rid of UpdateAgent adware and revert back browser’s settings that have been changed by adware.
You can also try to delete UpdateAgent by reset Google Chrome settings. |
If you are still experiencing issues with UpdateAgent removal, you need to reset Firefox browser. |
|
How to stay safe online
It is important to run ad blocker applications like AdGuard to protect your MAC OS from harmful web pages. Most security experts says that it’s okay to block advertisements. You should do so just to stay safe! And, of course, the AdGuard can to block misleading and other unwanted web-sites.
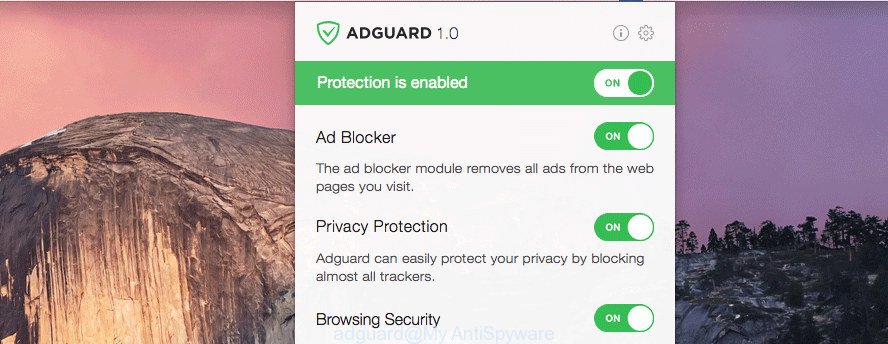
Installing the AdGuard is simple. First you’ll need to download AdGuard from the link below. Save it on your Desktop.
3752 downloads
Author: © Adguard
Category: Security tools
Update: January 17, 2018
Once the download is complete, run the downloaded file. You will see the “Setup Wizard” screen. Follow the prompts.
Each time, when you run your computer, AdGuard will start automatically and stop annoying ads, block malicious and misleading web pages.
Finish words
Now your MAC OS should be clean of the UpdateAgent adware. We suggest that you keep AdGuard (to help you block unwanted pop up ads and intrusive malicious web sites) and MalwareBytes Free (to periodically scan your MAC for new adwares and other malicious software).
If you are still having problems while trying to delete UpdateAgent ads from Chrome, Safari and Firefox, then ask for help here here.

